Three DIY projects that make a huge difference.
by Courtney Goodrich
Photographs by Dan Cutrona
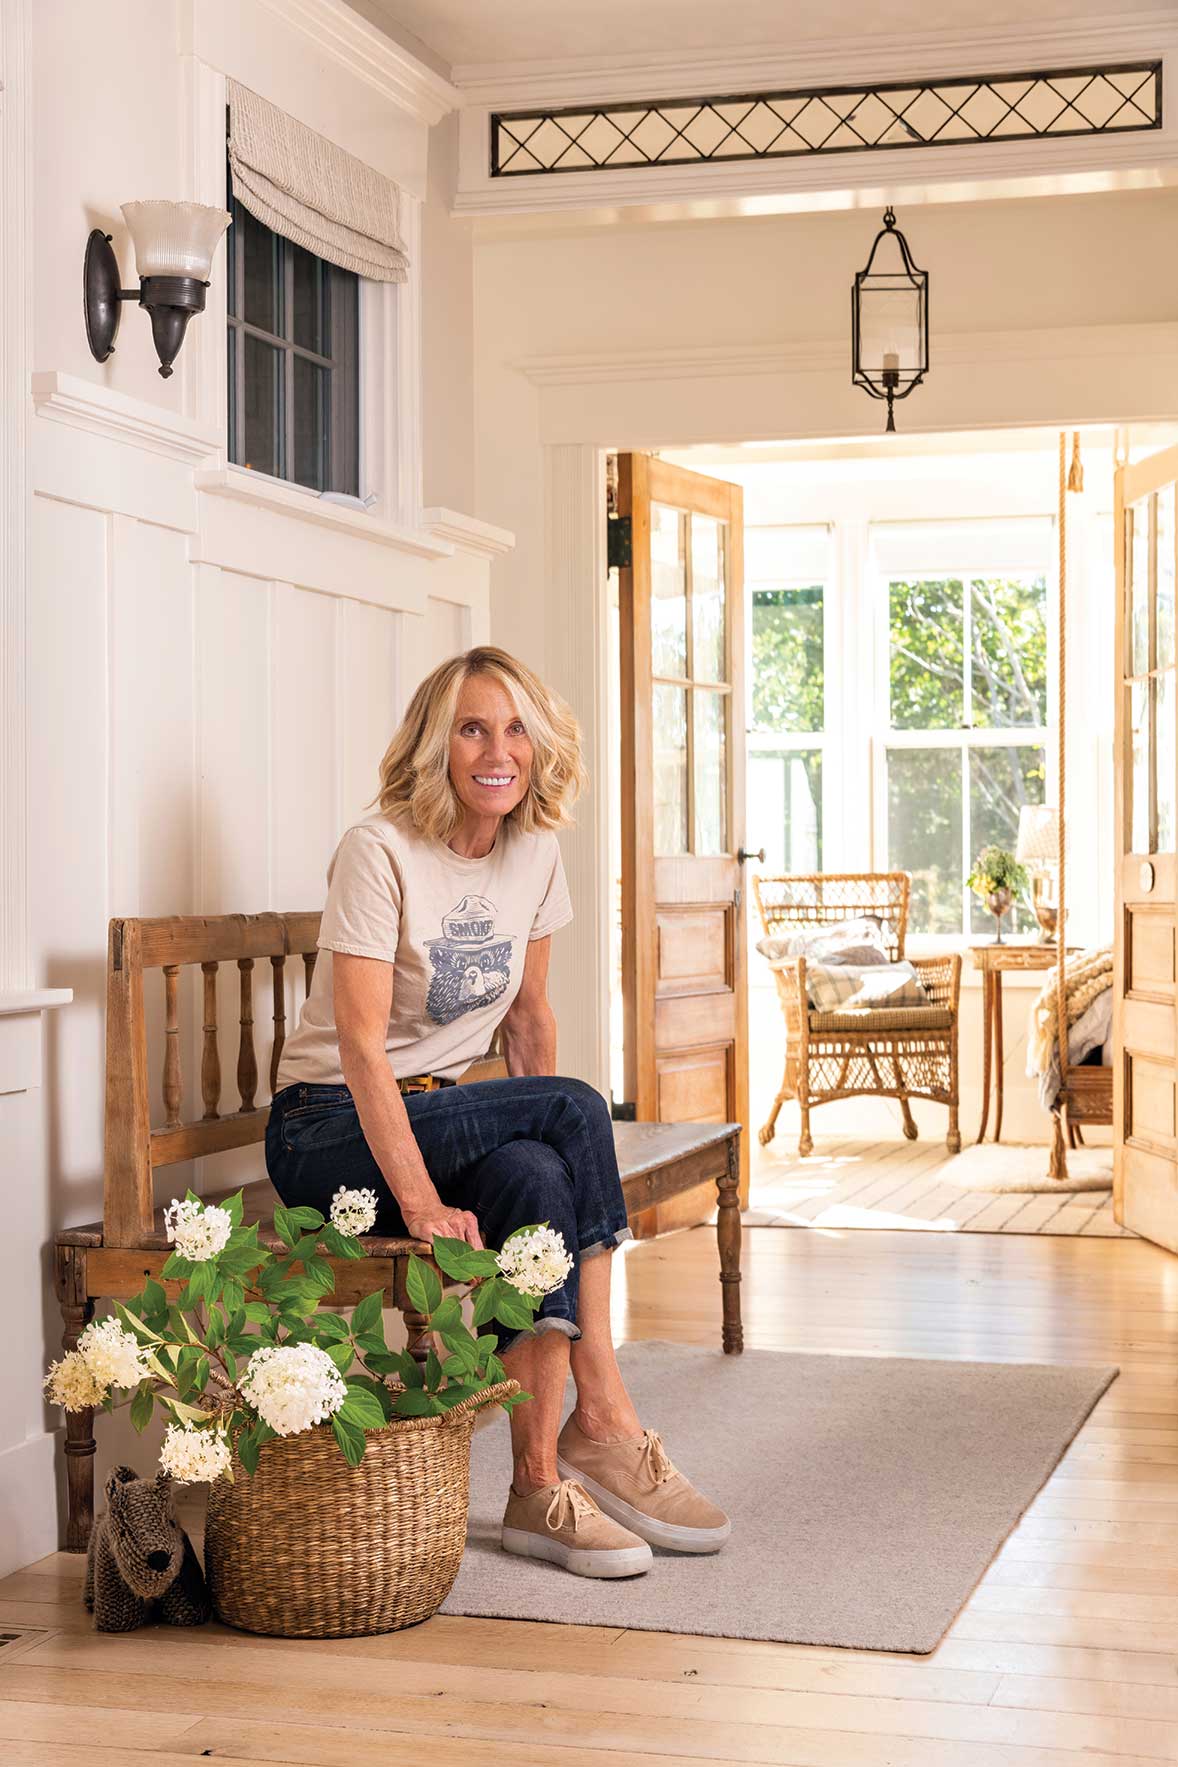
We’ve all spent more time at home this year. Summer offered somewhat of a break with its warm air and outdoor activity, but we’ll be hunkering back inside come fall and winter. Inevitably, all that at-home time will lead to noticing what should be fixed or updated around the house. Newfound resourcefulness means even non-DIYers are tinkering. But for Sandra Cavallo, DIY has always been part of her life, especially when it comes to the 1905 folk Victorian cottage she and her husband bought in Falmouth in 2004. “We had to tear the entire cottage down and start from scratch,” she says. “We saved everything and reused it in the new building. “Little by little — I was here everyday — we did the best we could to bring it all back in. We basically reused everything, like window trims, cabinetry, and doors.”
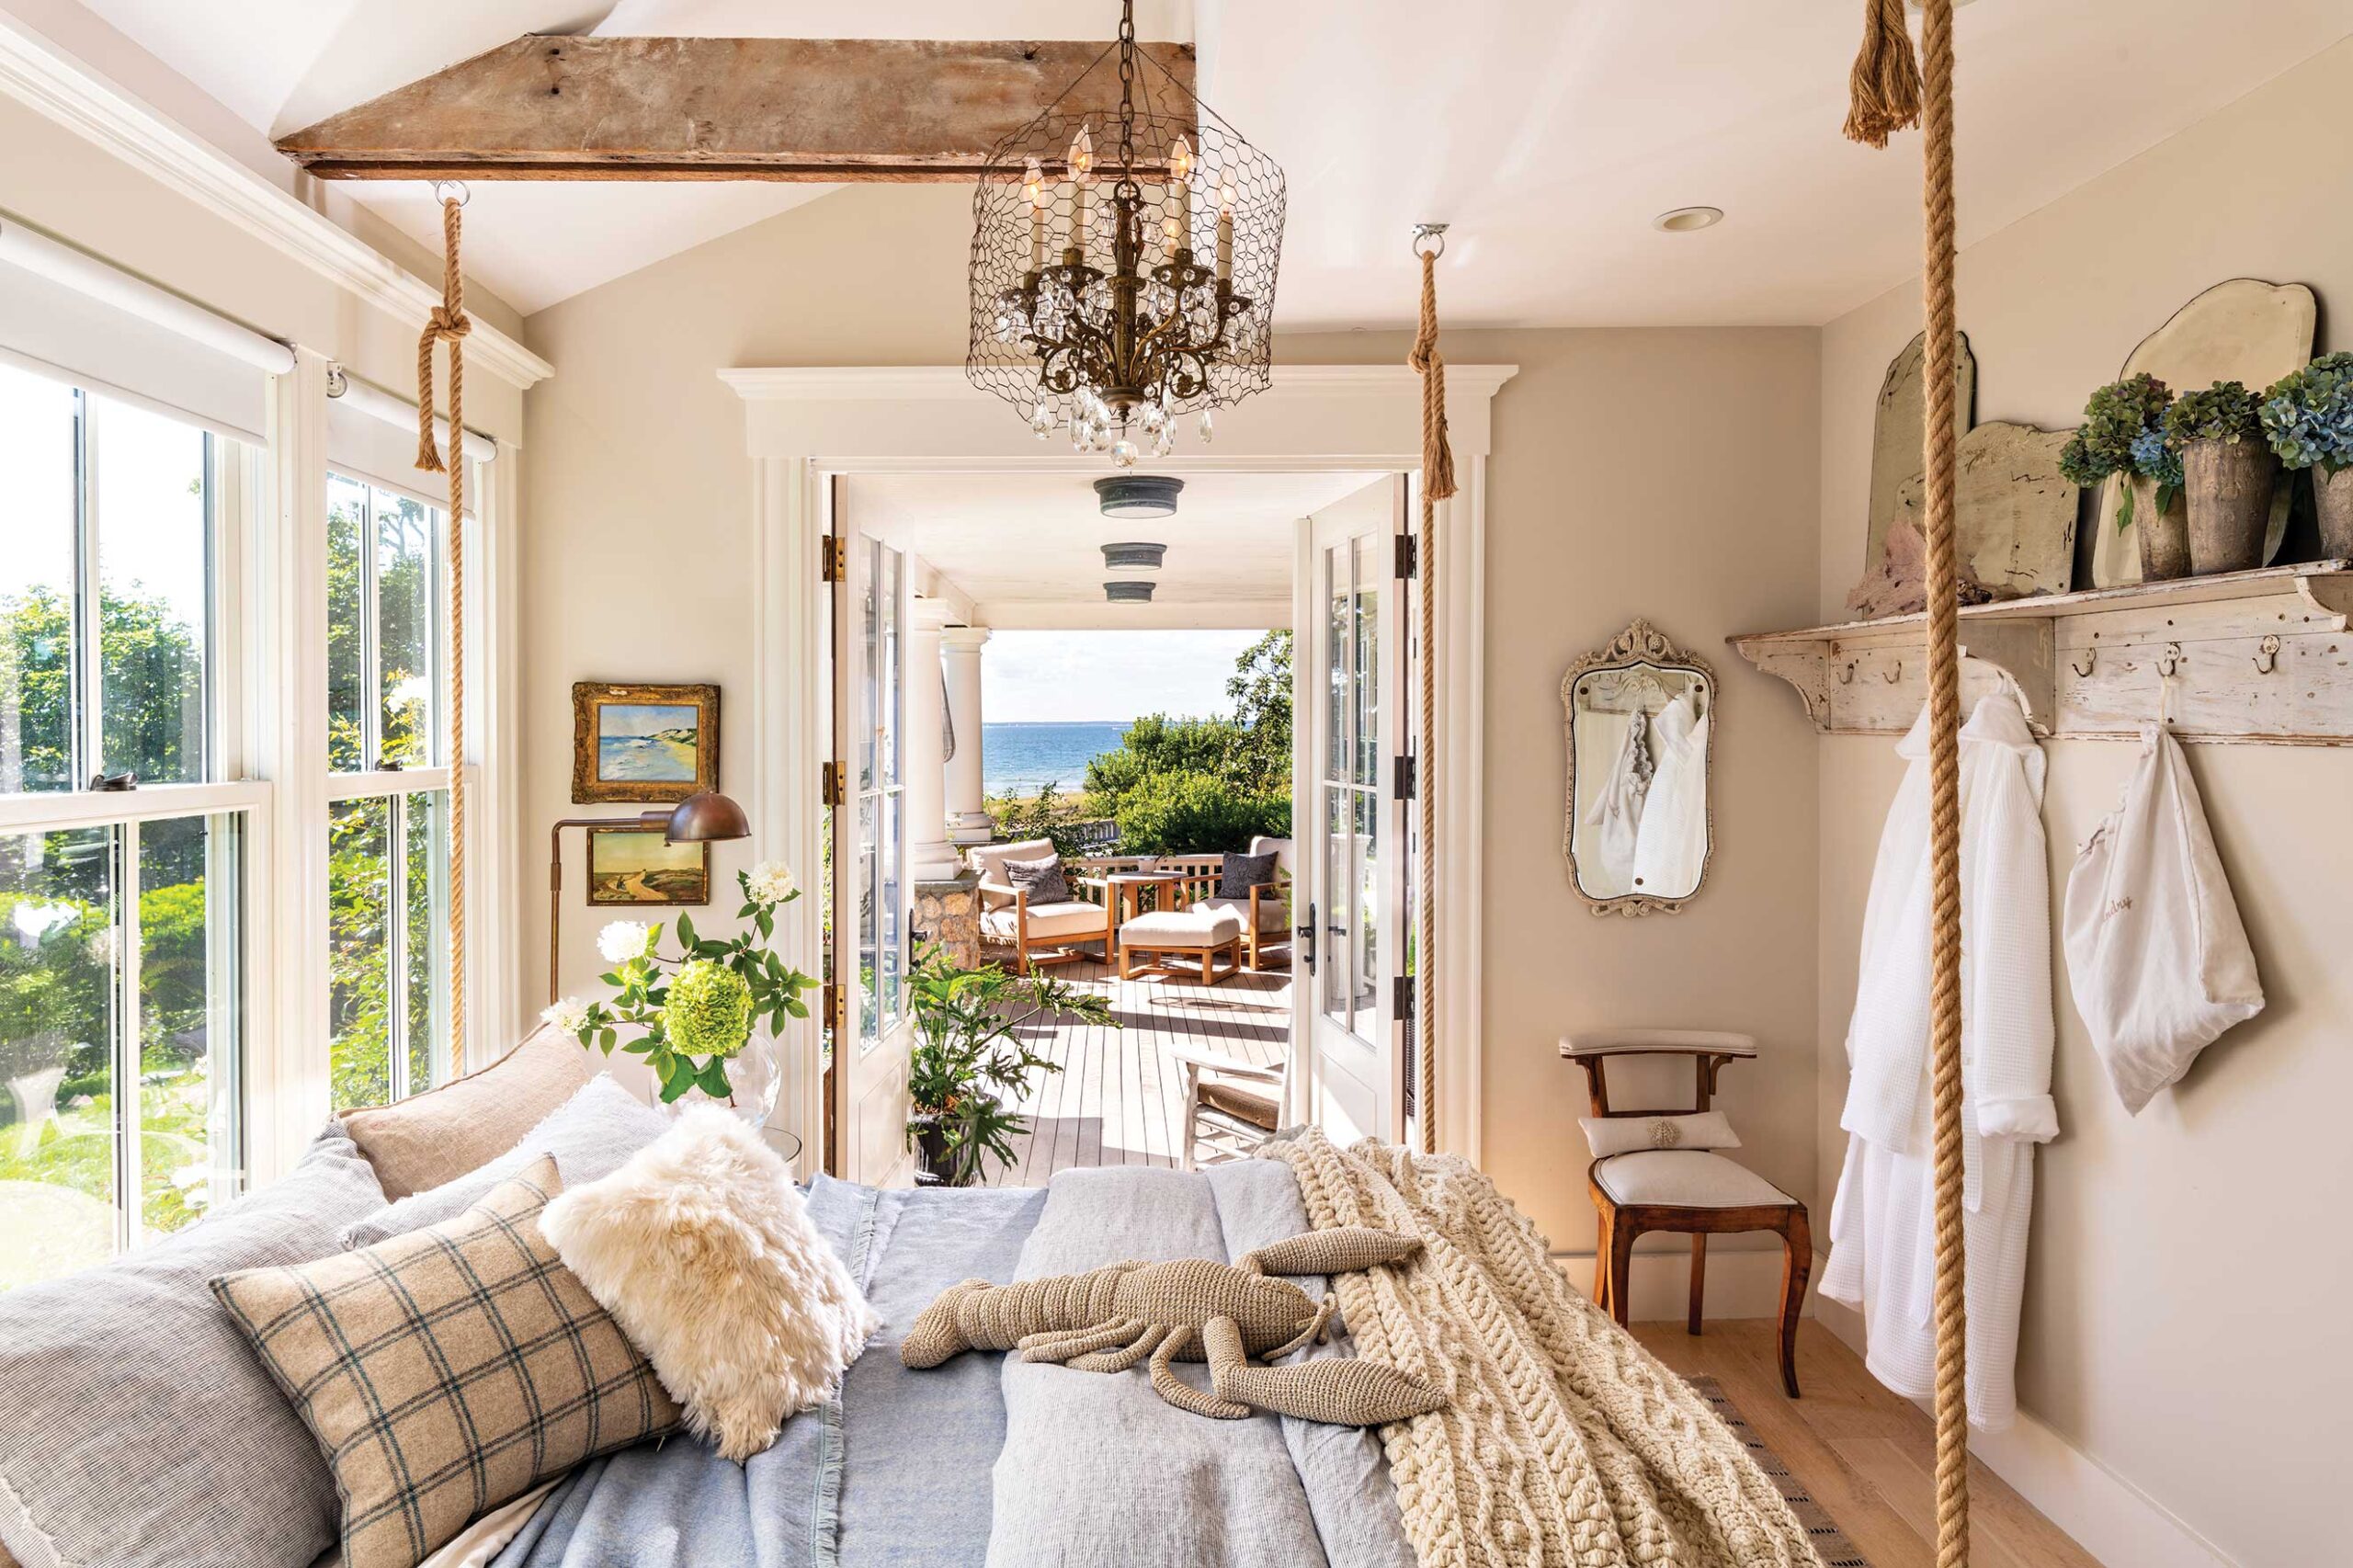
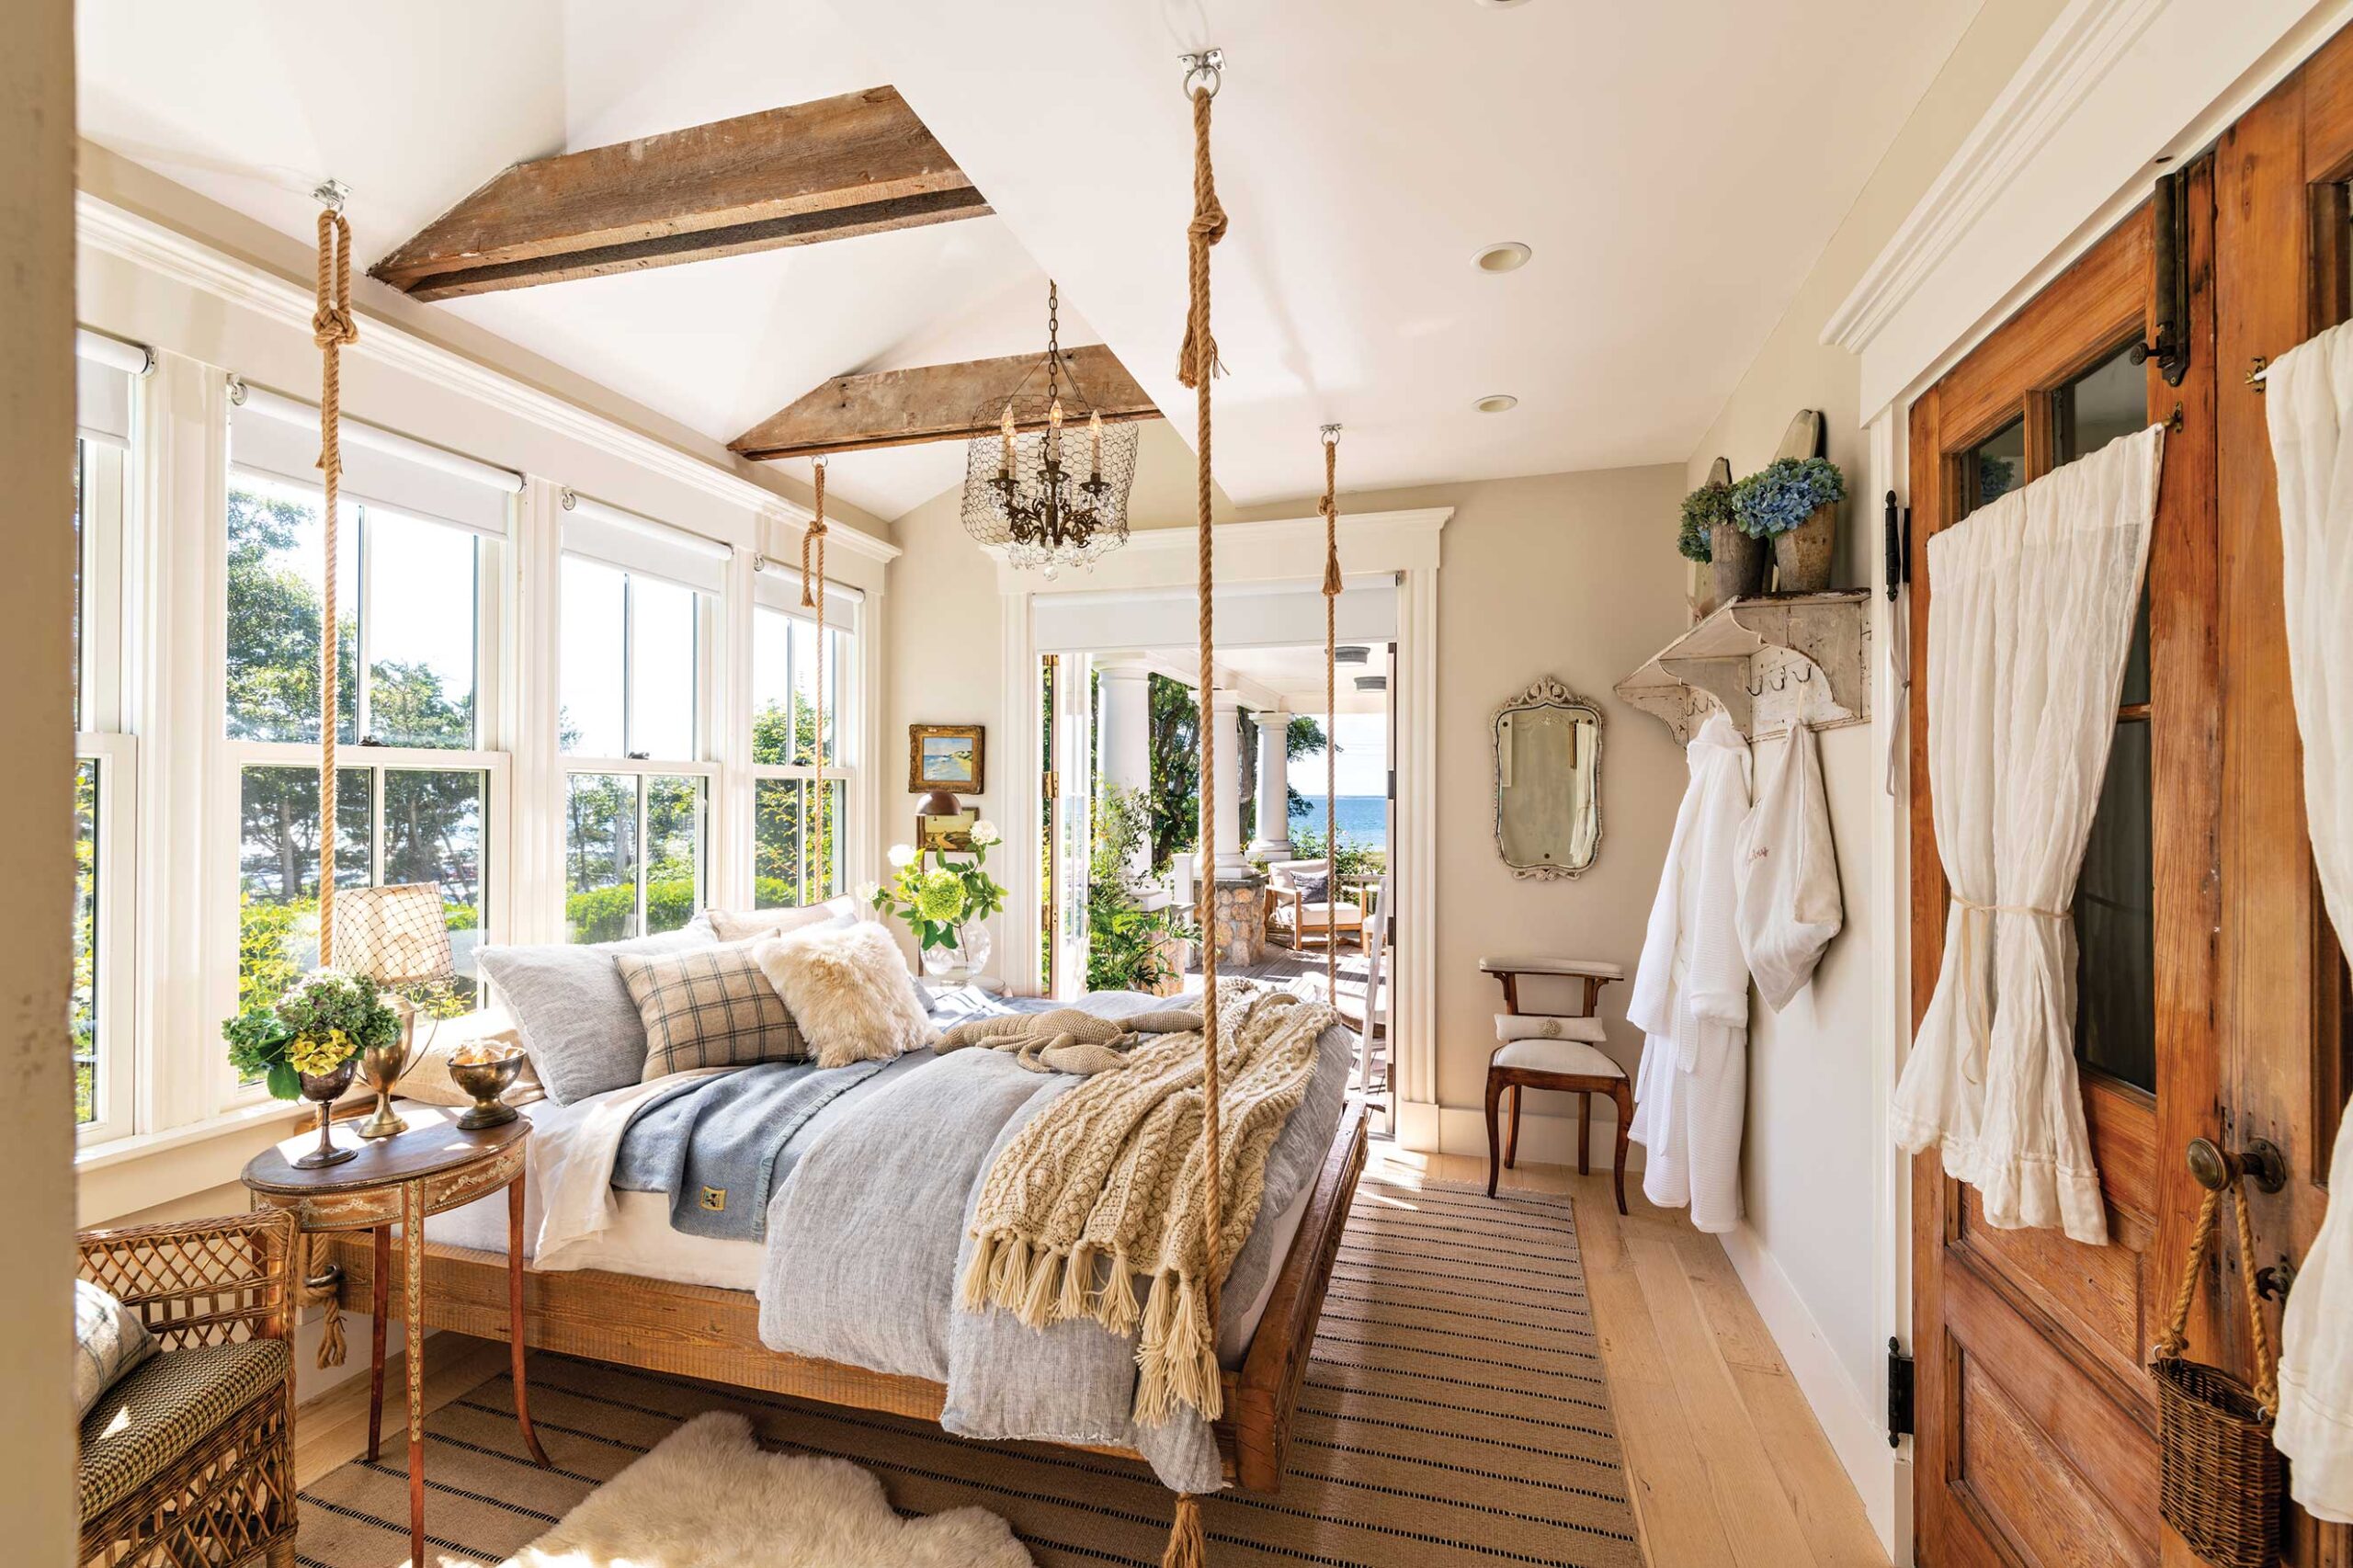
Although it took four years to finish Old Silver Shed, as they call the house, a home is never truly finished. Projects continue, and inside are many examples of Cavallo’s DIY prowess. “I love to make things that are different from what they were intended to be,” she says. “My best day out is to go into salvage yards and see what I can find.”
For some DIY inspiration, here are three custom projects at Old Silver Shed. www.oldsilvershed.com


What you need:
Materials
- vintage chandelier
- easy-to-bend old wire garden fencing
- pliable jewelry wire close in color to the fencing
- jewelry chain
Tools
- wire cutters
- needle nose pliers
What to do
1. Measure from the bottom to the top of the chandelier.
2. Measure the chandelier’s diameter.
3. Using the wire cutters, cut the fencing’s height to the measurement you took in step 1.
4. Add a couple inches to the measurement you took in step 2 and cut the fencing’s length.
5. Bend the fencing around the chandelier to create a “shade.” This needs to slide over the chandelier but also fit snugly, so cut it to fit with about a half-inch extra.
6. Using the needle nose pliers, bend the wire back onto itself at the seam.
7. Measure from the top of the shade to the chandelier’s center chain.
8. Cut five pieces of jewelry chain to the measurement you took in step 7.
9. Cut six pieces of jewelry wire into six-inch lengths.
10. Attach a cut piece of chain to the shade’s top edge using a cut piece of wire.
11. Attach the other end of the chain to the center chain using another cut piece of wire.
12. Twist both wires tightly with the pliers, wrapping them discreetly or cutting off the excess with the wire cutters.
13. Repeat steps 10 through 12 with the remaining chain and wire, spacing them out evenly.

What you need
Materials
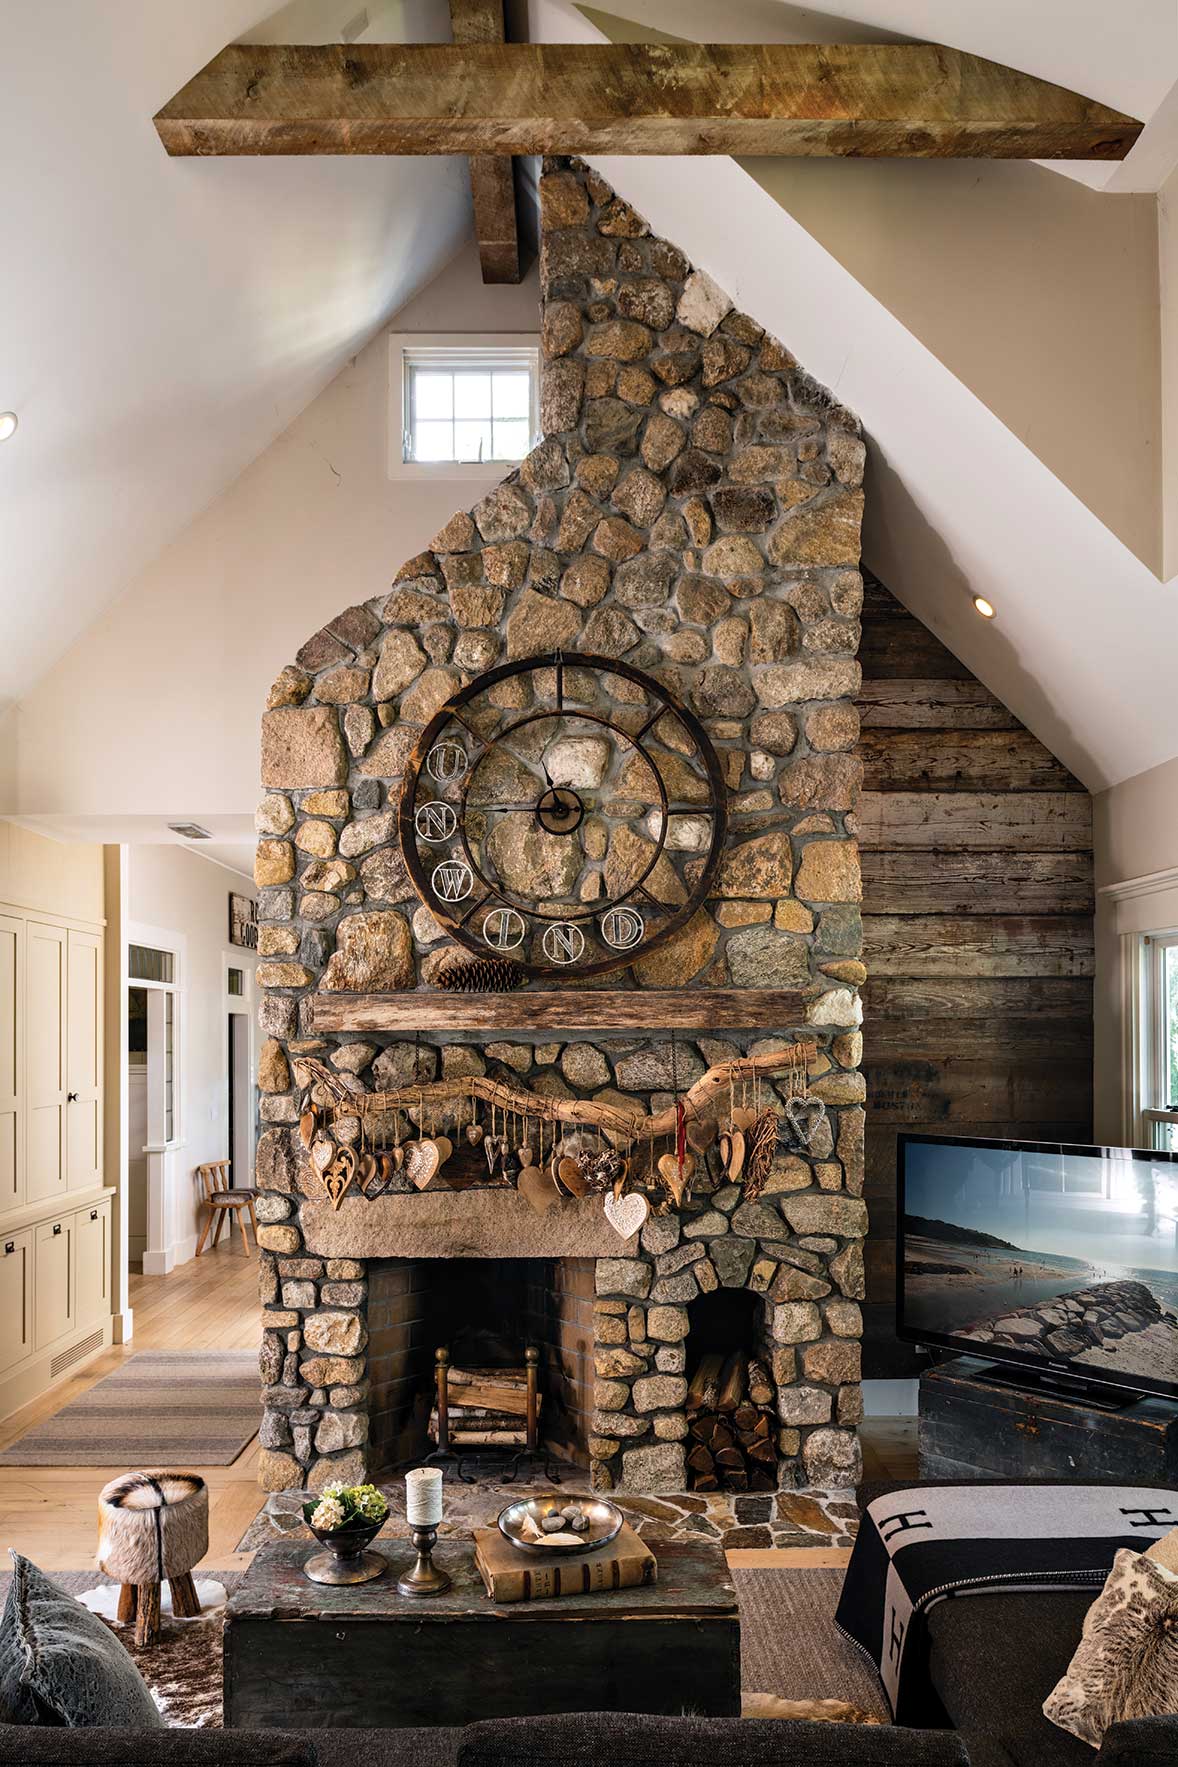
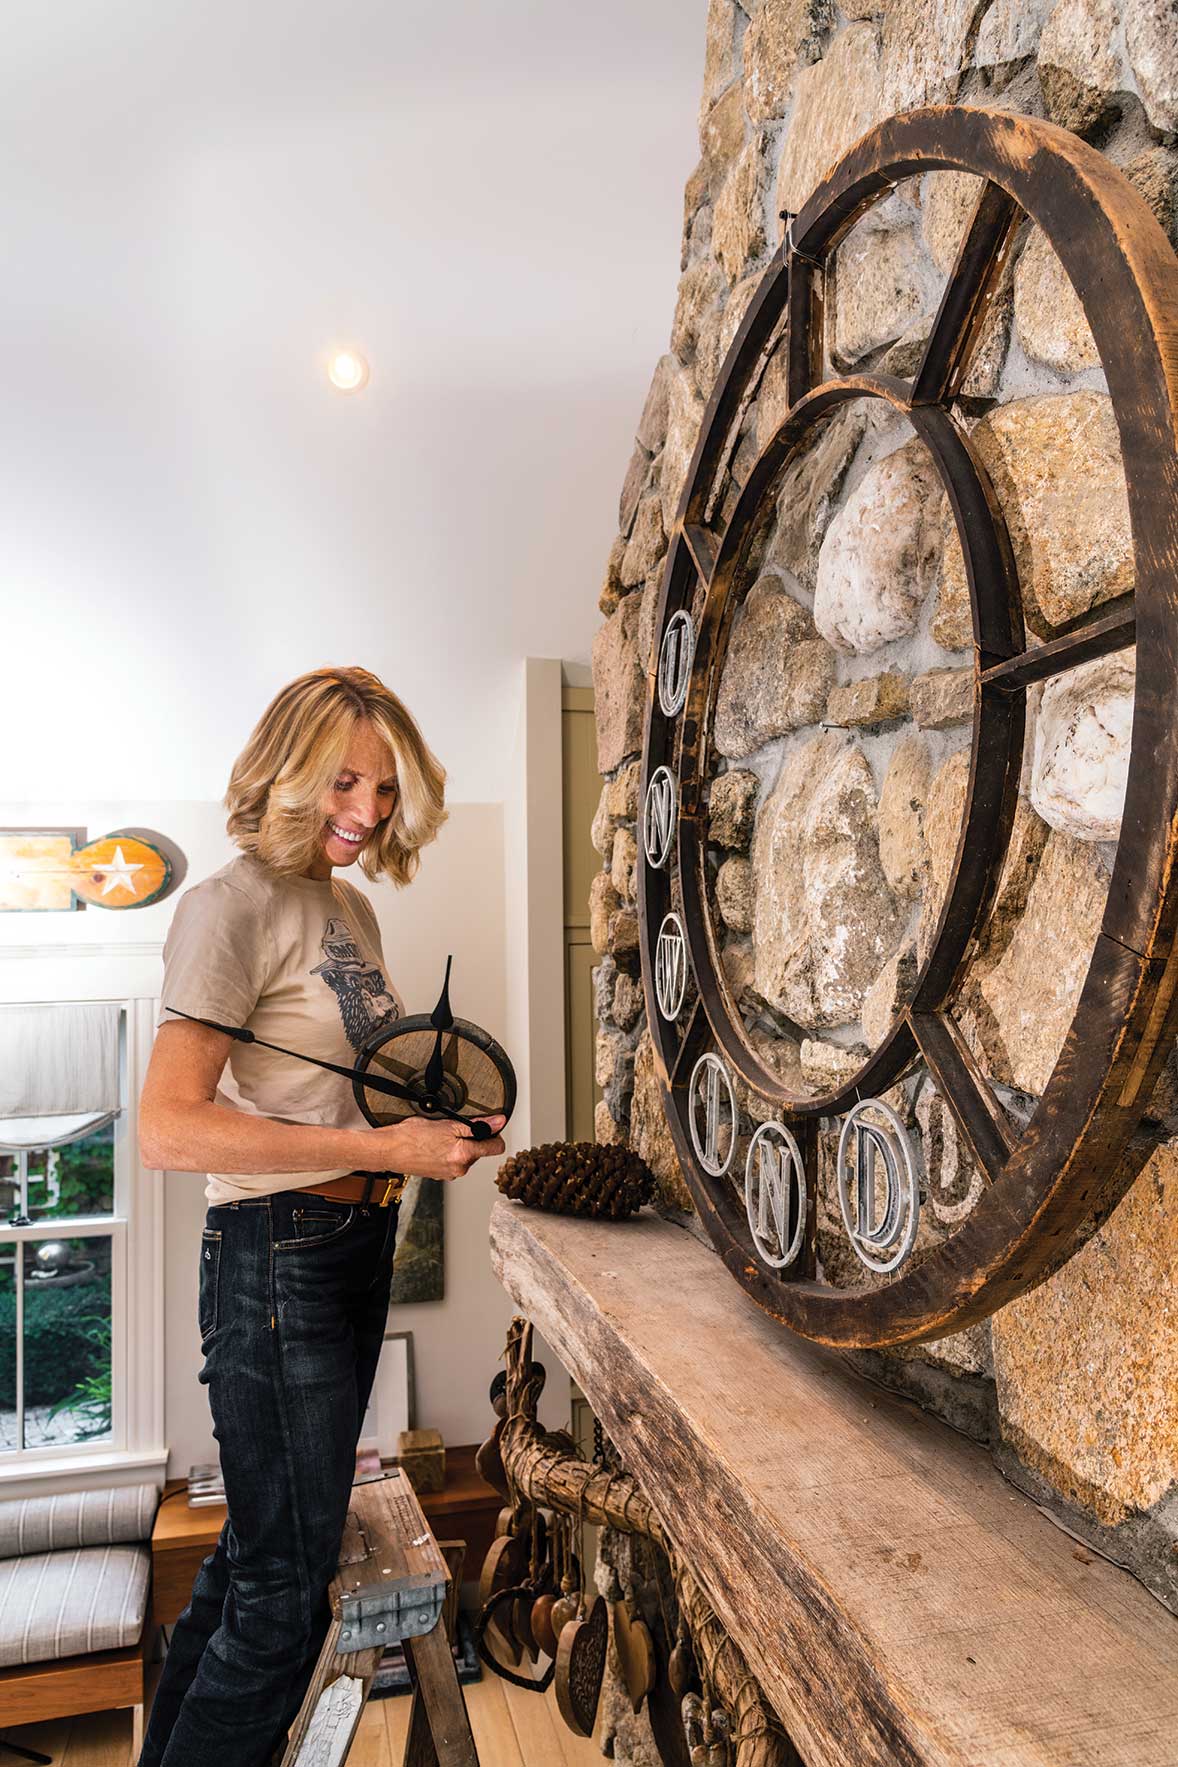
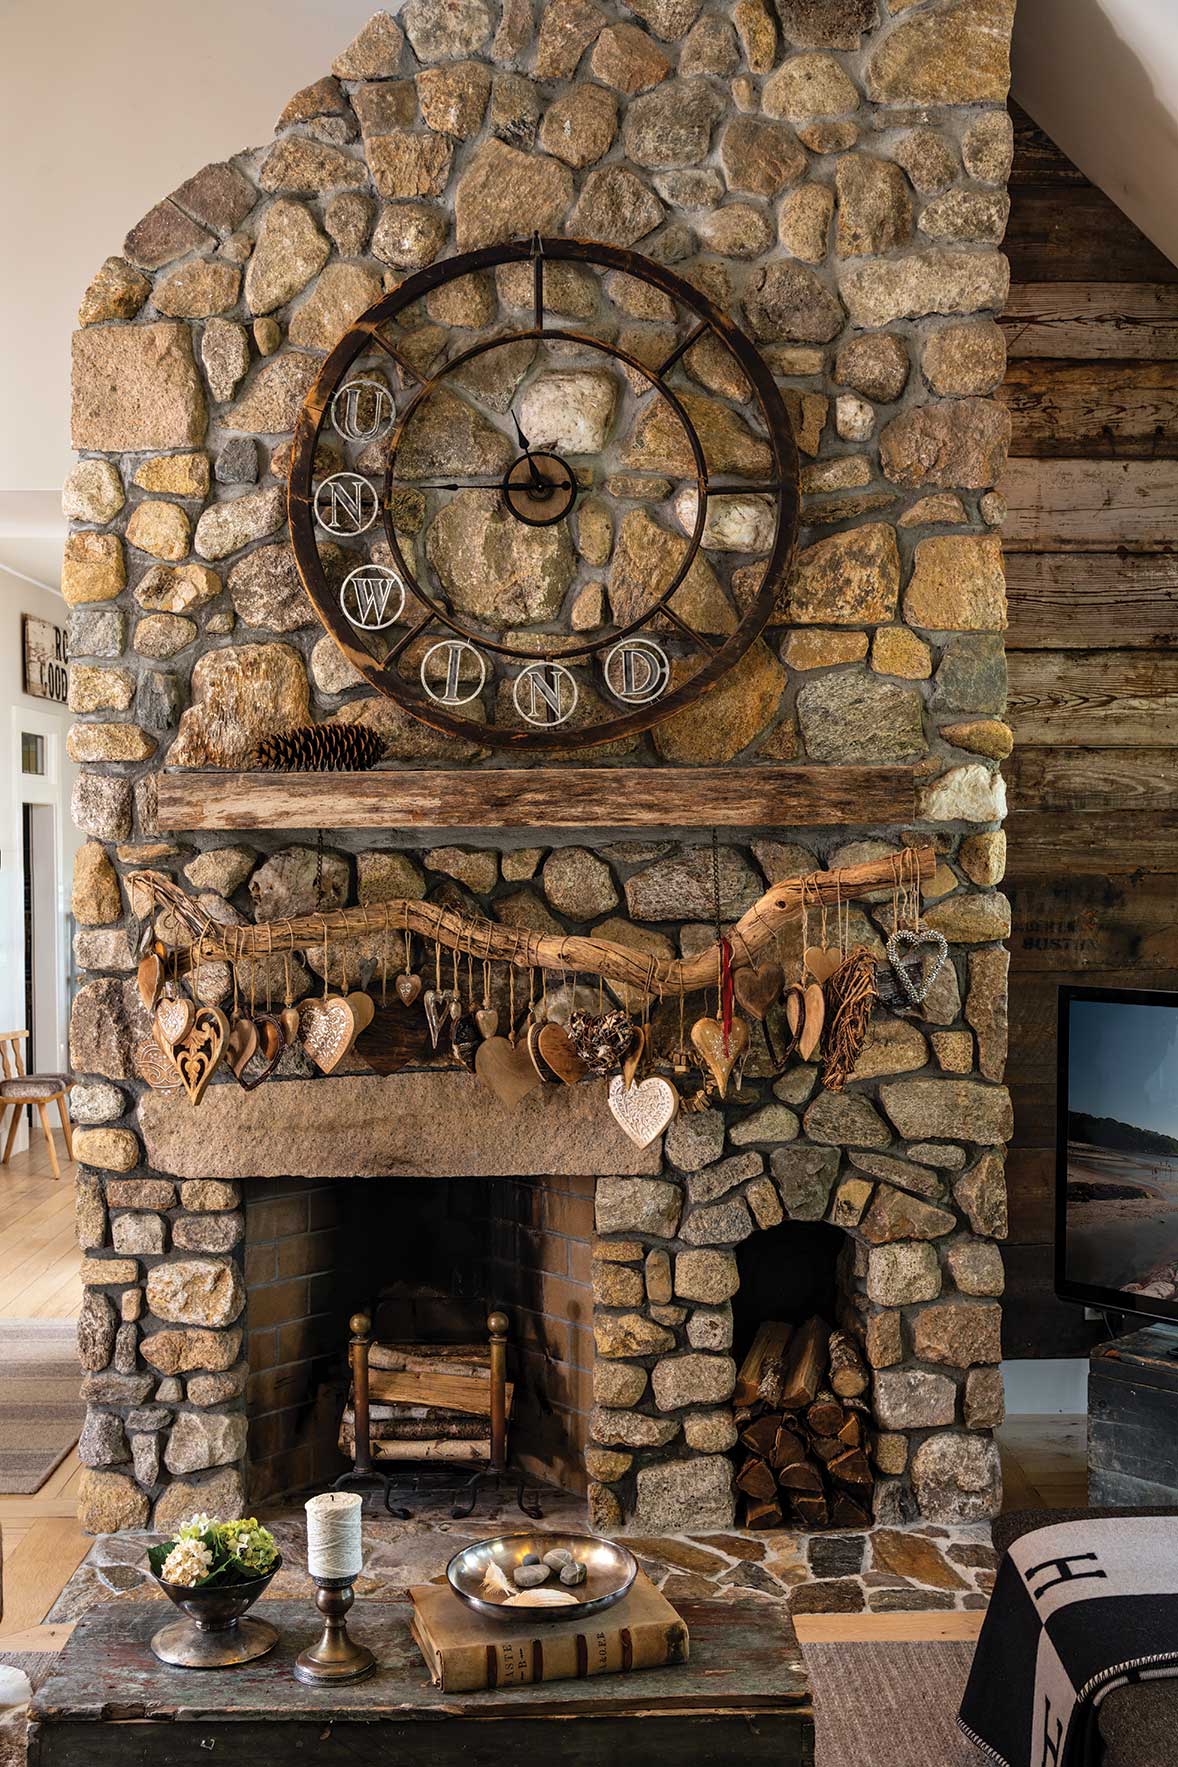
- clock frame (look for something with a center circle and something around the outside, such as a window frame or a basket hoop)
- clock parts (try clockparts.com)
- numbers, letters, or objects
Tools
- glue or wire
What to do
1. Lay out the clock frame and attach the clock parts to the center circle.
2. Make a clock dial with your numbers, letters, or objects and secure with glue or wire either together or directly on the wall.
Cavallo used salvaged letters from vintage screen doors and chose the word UNWIND, but you can spell out anything or use different size numbers or letters. Be creative!

What you need
Materials
- (2) 2-by-4-inch boards in 84-inch lengths for the sideboards
- (2) 2-by-4-inch boards in 62-inch lengths for the headboard and footboard
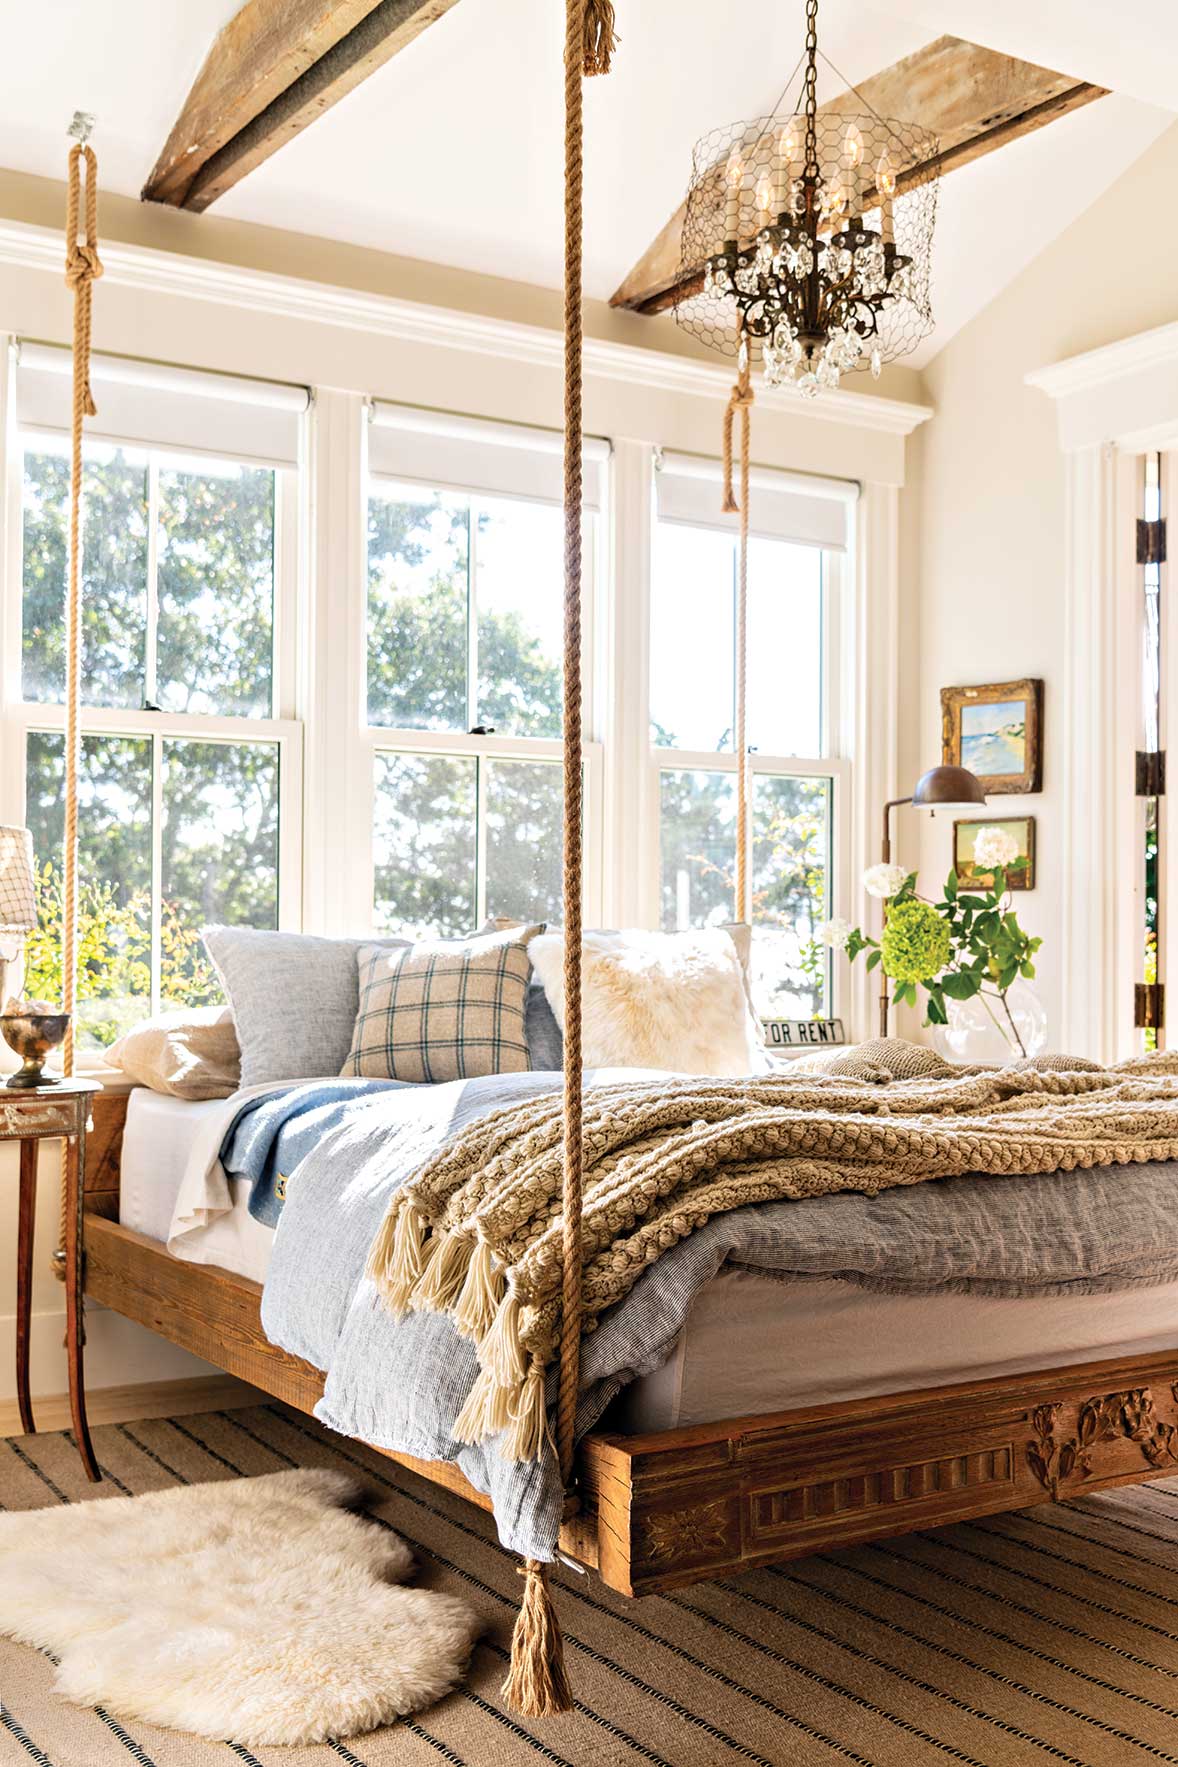
- 2-by-4-inch boards in desired lengths for the frame support
- (1) ½-inch plywood piece cut to 60 by 80 inches
- (2) 4-by-9-inch support block legs in desired height (the total height of Cavallo’s bed is 26 inches)
- screws and bolts
- 8 pad eyes with rings
- 4 pieces of 1¼-2-inch jute rope cut to desired length (make sure the rope can fit through the ring of the pad eyes)
Tools
- standard tool kit
This fits a queen bed and requires some carpentry knowledge.
What to do
1. Using screws and bolts, attach the headboard and footboard to the sideboards.
2. Build an inside frame support grid with the 2-by-4-inch boards. (Cavallo laid 6 boards width-wise and then staggered smaller pieces between.)
3. Secure the plywood to the top of the frame support.
4. Lift the frame onto the support block legs and position it where you want.
5. Attach the frame to the wall.
6. Make sure the support block legs under the bed are about 26 inches away from the foot and 16 inches from each side. (*Note: The bed is low to the ground with the legs set in so they are not visible, allowing the bed to appear to hang and be able to “swing.”)
7. Screw through the plywood and the frame support into the legs.
8. Screw four pad eyes with rings into the frame’s four corners and the other four pad eyes with rings into the ceiling directly above.
9. Measure from the ceiling to the frame to see how long the four pieces of jute ropes should be, leaving about 18 inches extra on each end.
10. Thread the ropes through the rings and knot at both ends.
11. Trim extra rope.