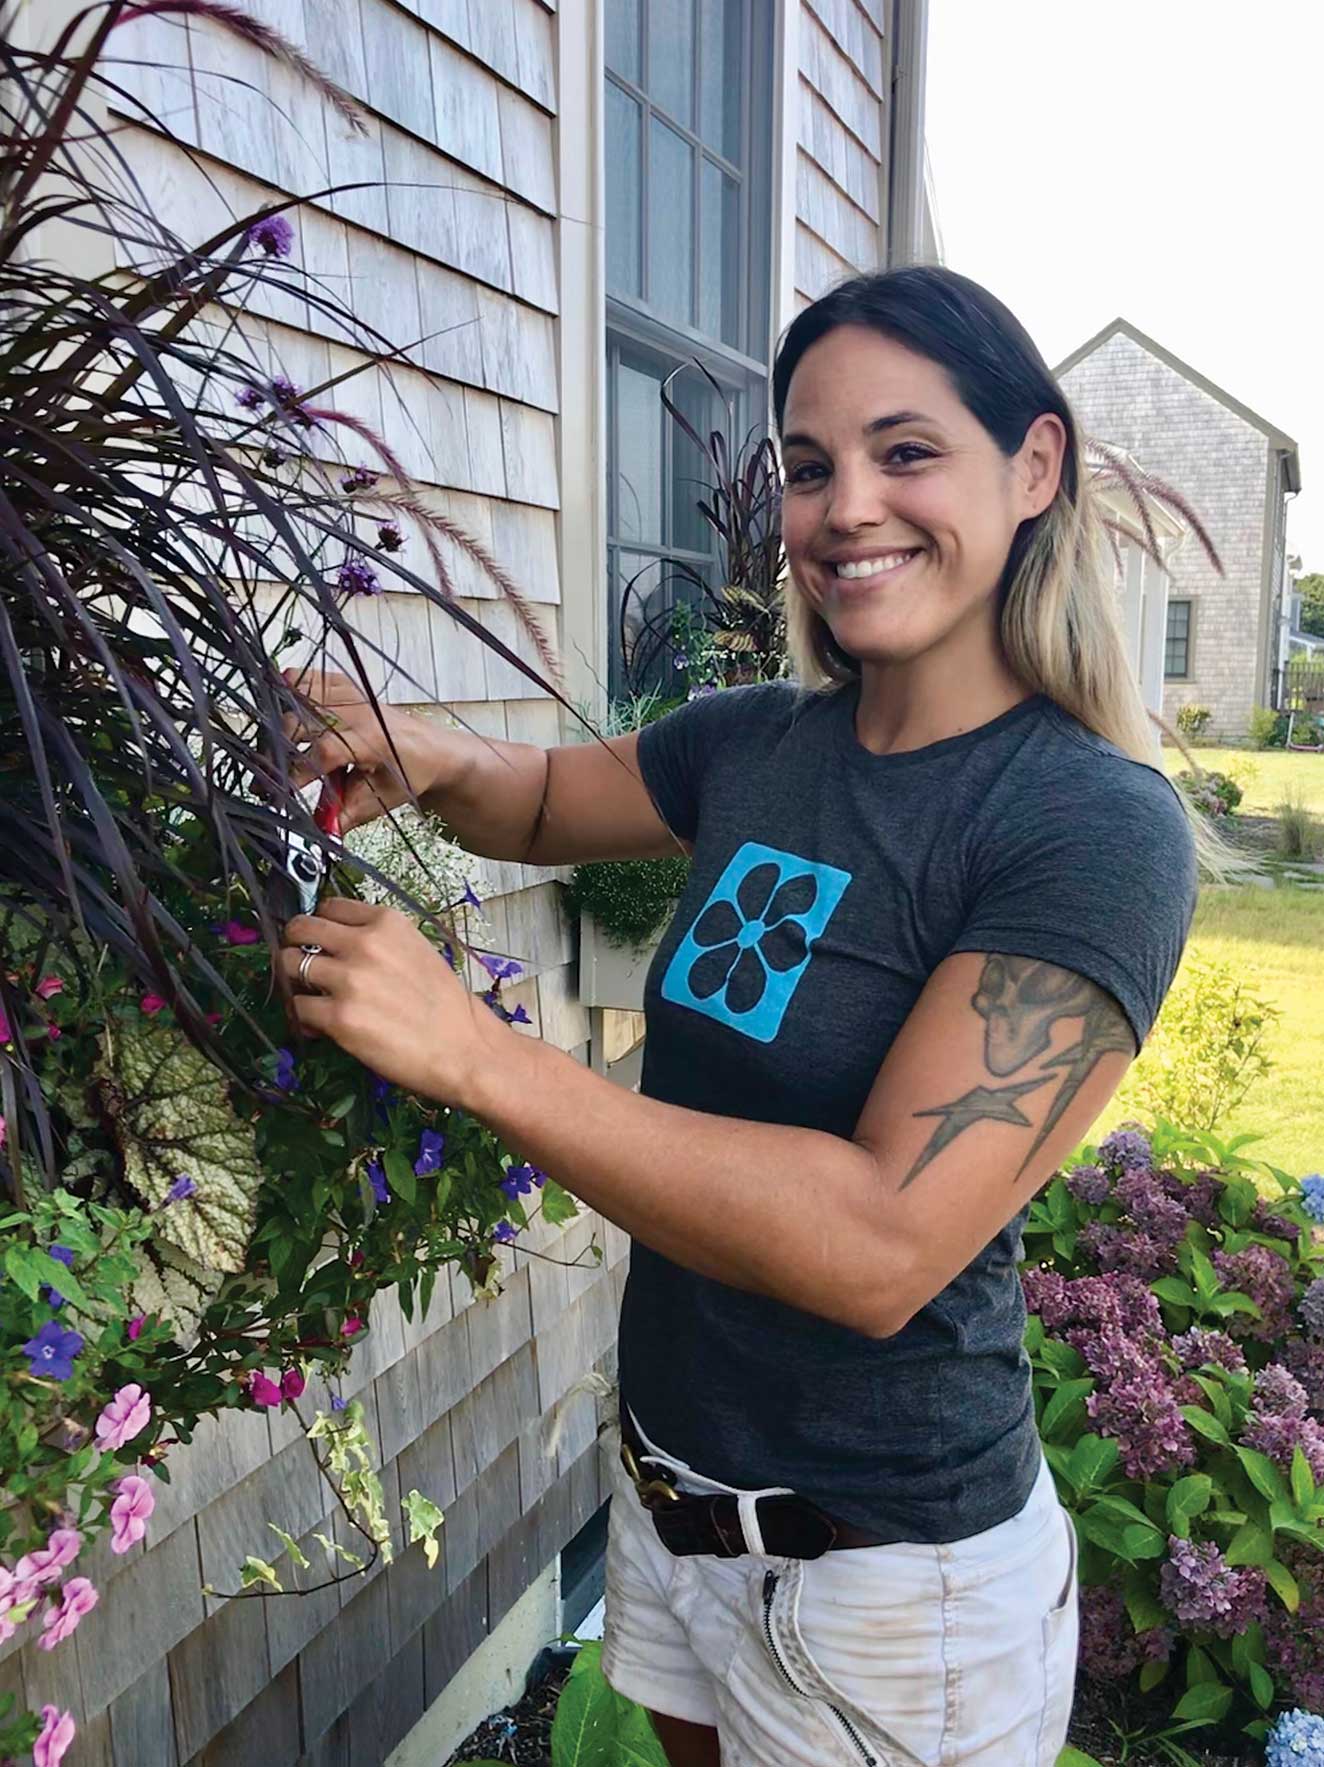
Jesse Ahern on designing window boxes
On Nantucket it’s easy to be enchanted walking up Main Street past the rows of gray-shingled homes, and in the summer, many of the well-manicured plots burst with color from gardens, potted plants, and window boxes. These cascading arrangements that so elegantly add lushness to the Grey Lady, can require extensive upkeep, and that’s where Jesse Ahern of Gauvin Gardens comes in.
Ahern was born and raised on Nantucket and got started in the landscaping business in the late 1990s. In 2005, she launched her own company, Gauvin Gardens, which handles the installation and maintenance of gardens, window boxes, and containers for islanders. From late spring until Christmas, Ahern helps add a touch of natural whimsy to homes. “Summer window boxes are my absolute favorite,” she says. “There are just so many different possibilities and they have the longest shelf life, lasting from Memorial Day through Columbus Day.”
We decided to enlist Ahern’s expertise in arranging a window box for the DIY crowd. Here are her five tips for beginners:
1. Consider sun exposure.
Before selecting flowers, determine how much sun or shade a window box is going to get throughout the day. Professionals at local nurseries can guide you in the right direction. “There are more flowers to choose from if your boxes are in the sun,” says Ahern. “A lot of my clients prefer a more pastel palette, but I’m always able to add my personal aesthetic, which is a lot of bright and dark colors mixed together.”
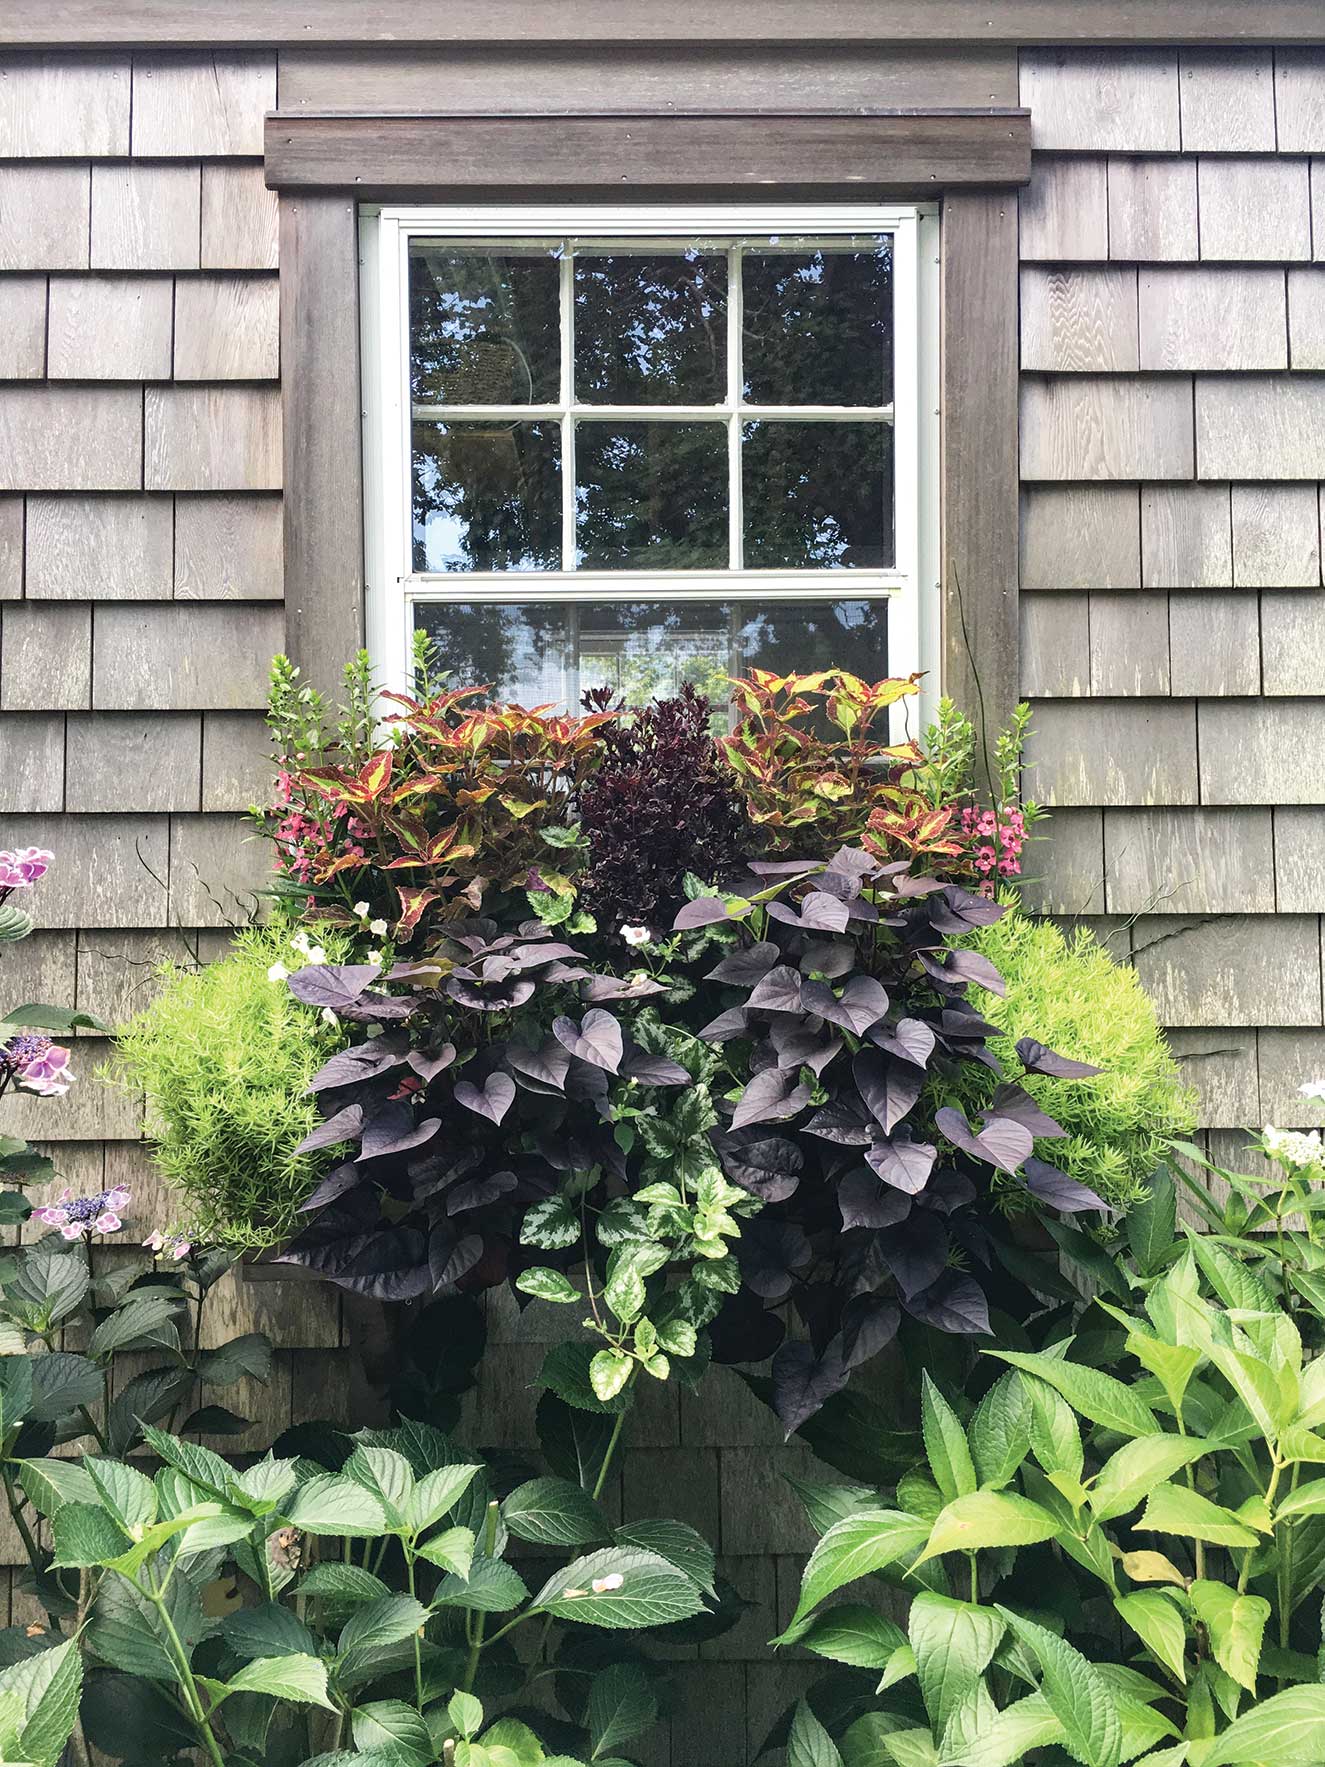
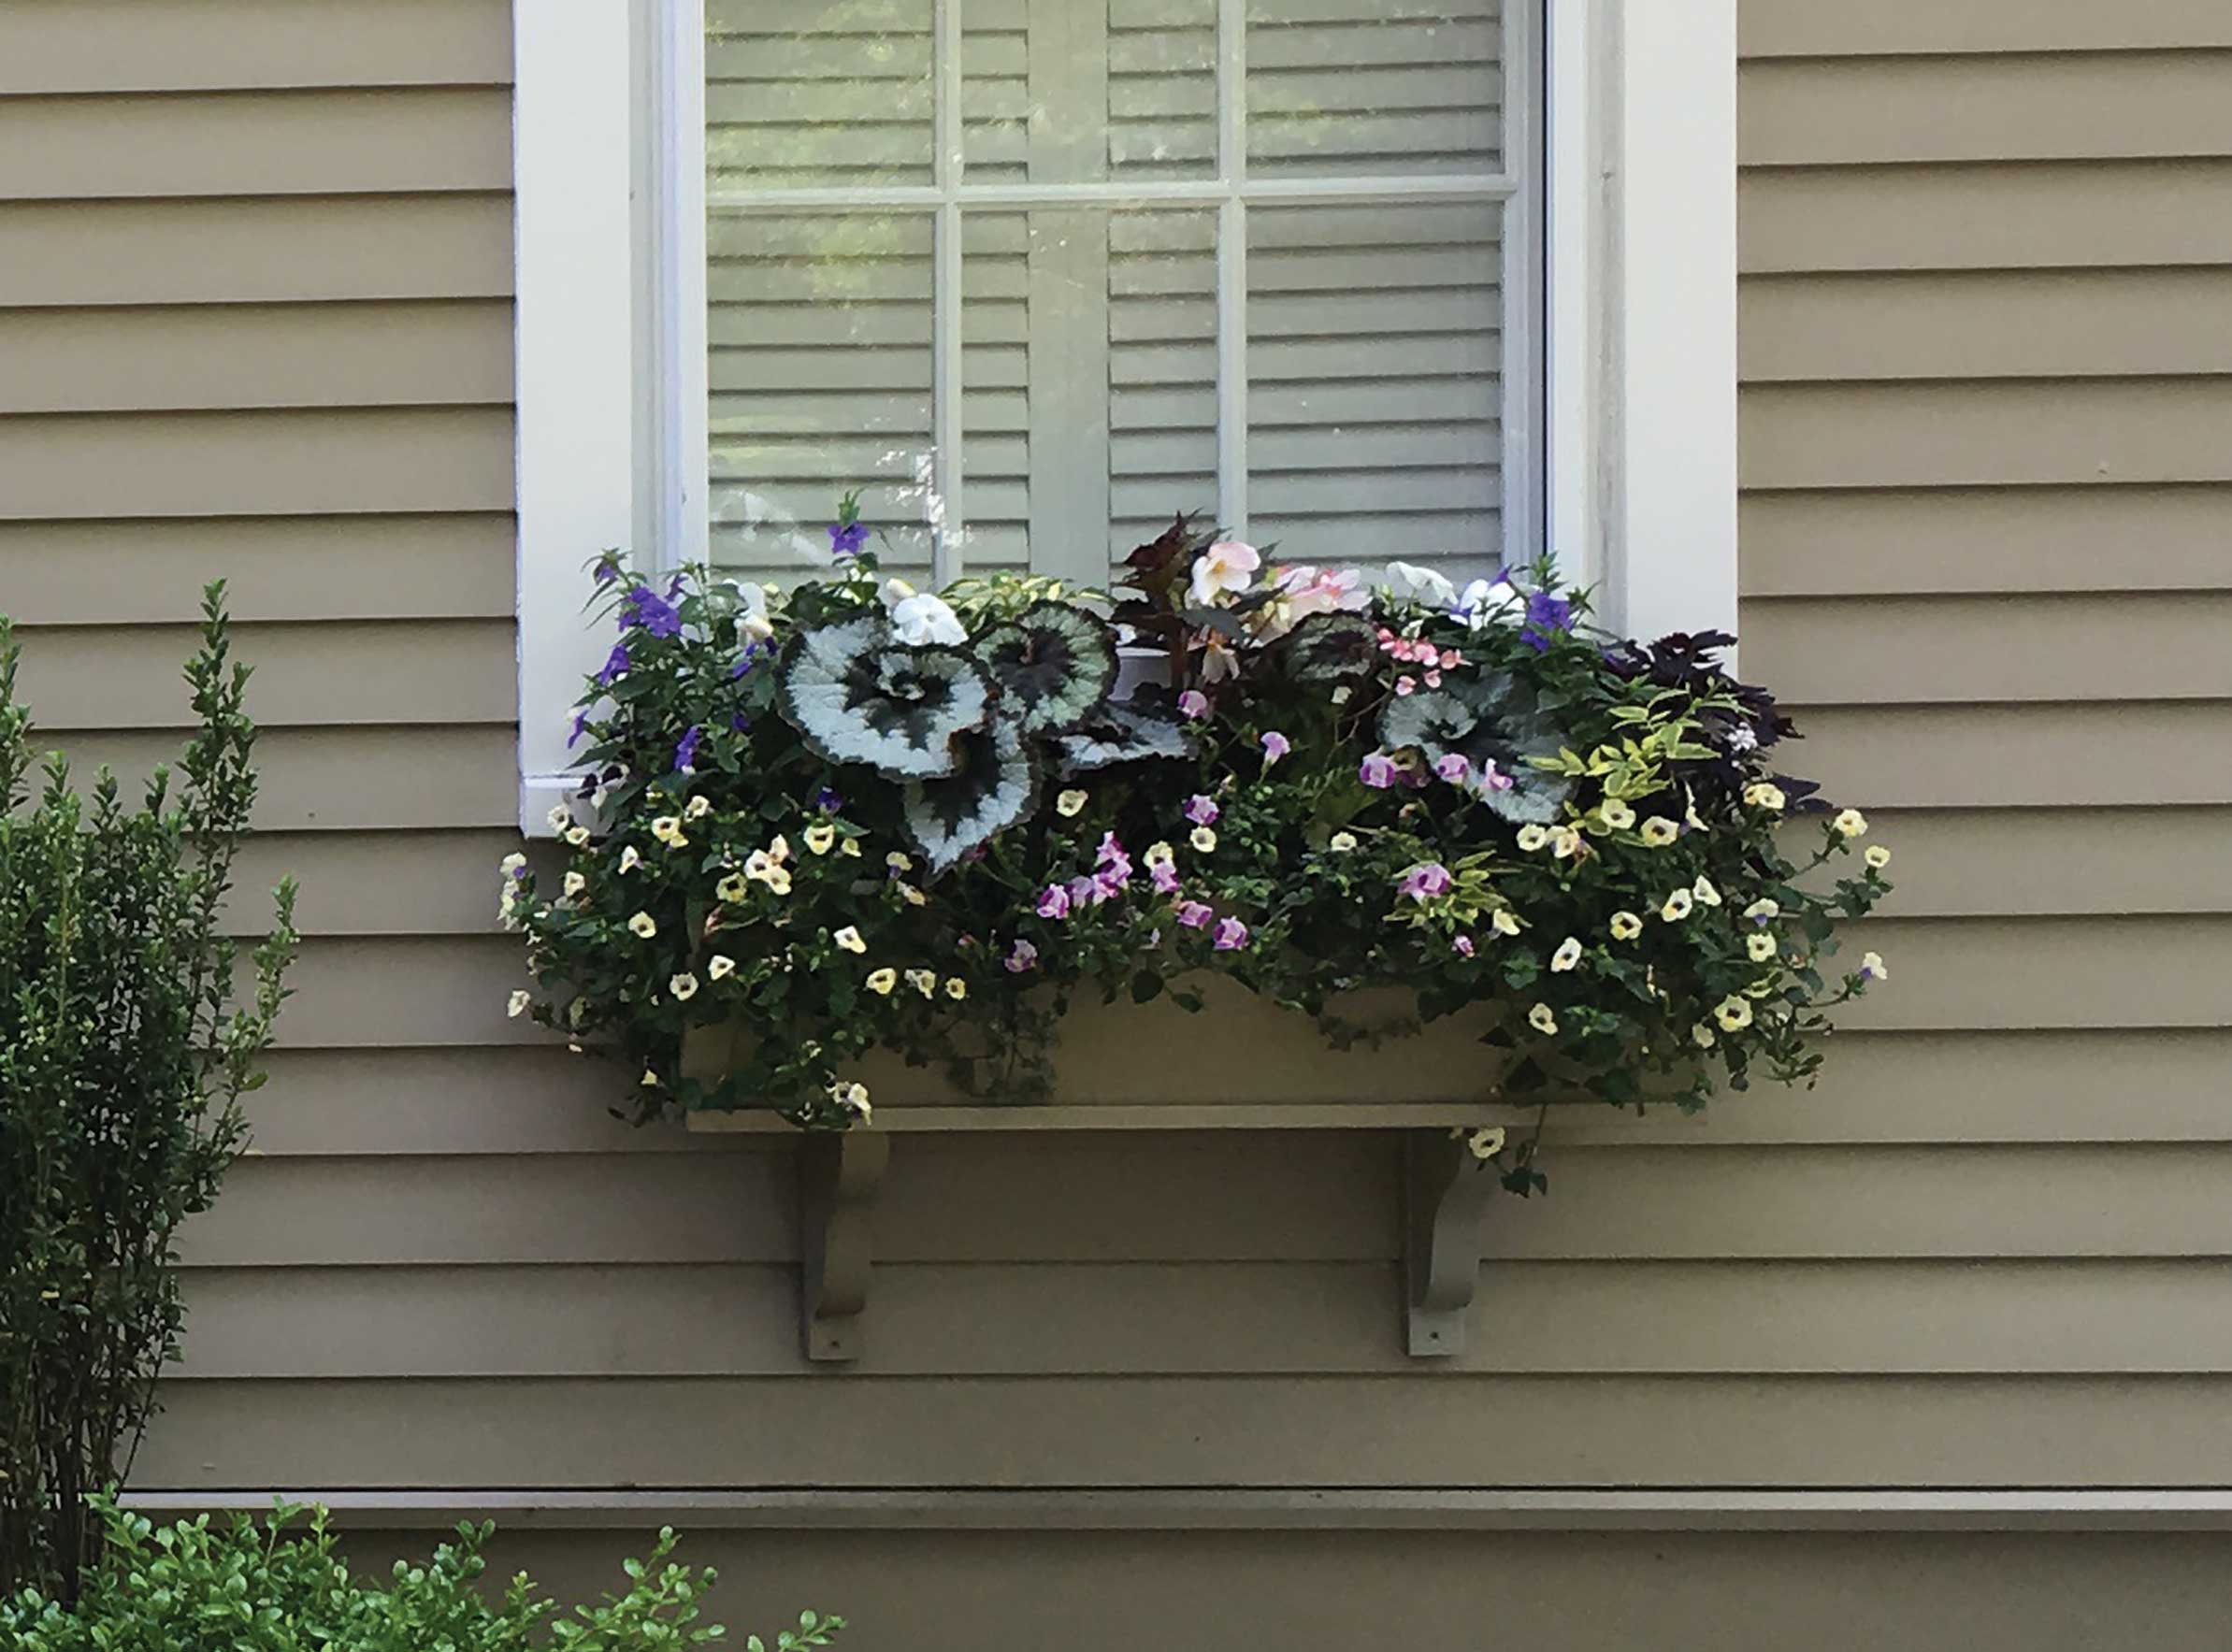
And boxes located in shadier spots can be fun too. “You can use New Guinea impatiens, which are hardier, or rex begonias mixed with ferns and coleus to add texture.”
2. Choose the right combination.
Spend time looking through books on flower gardens or visit a nursery to decide your preferences. “When I’m designing for new clients the first thing I ask is if there are any colors or flowers that they don’t like, and that helps guide me in the design,” says Ahern.
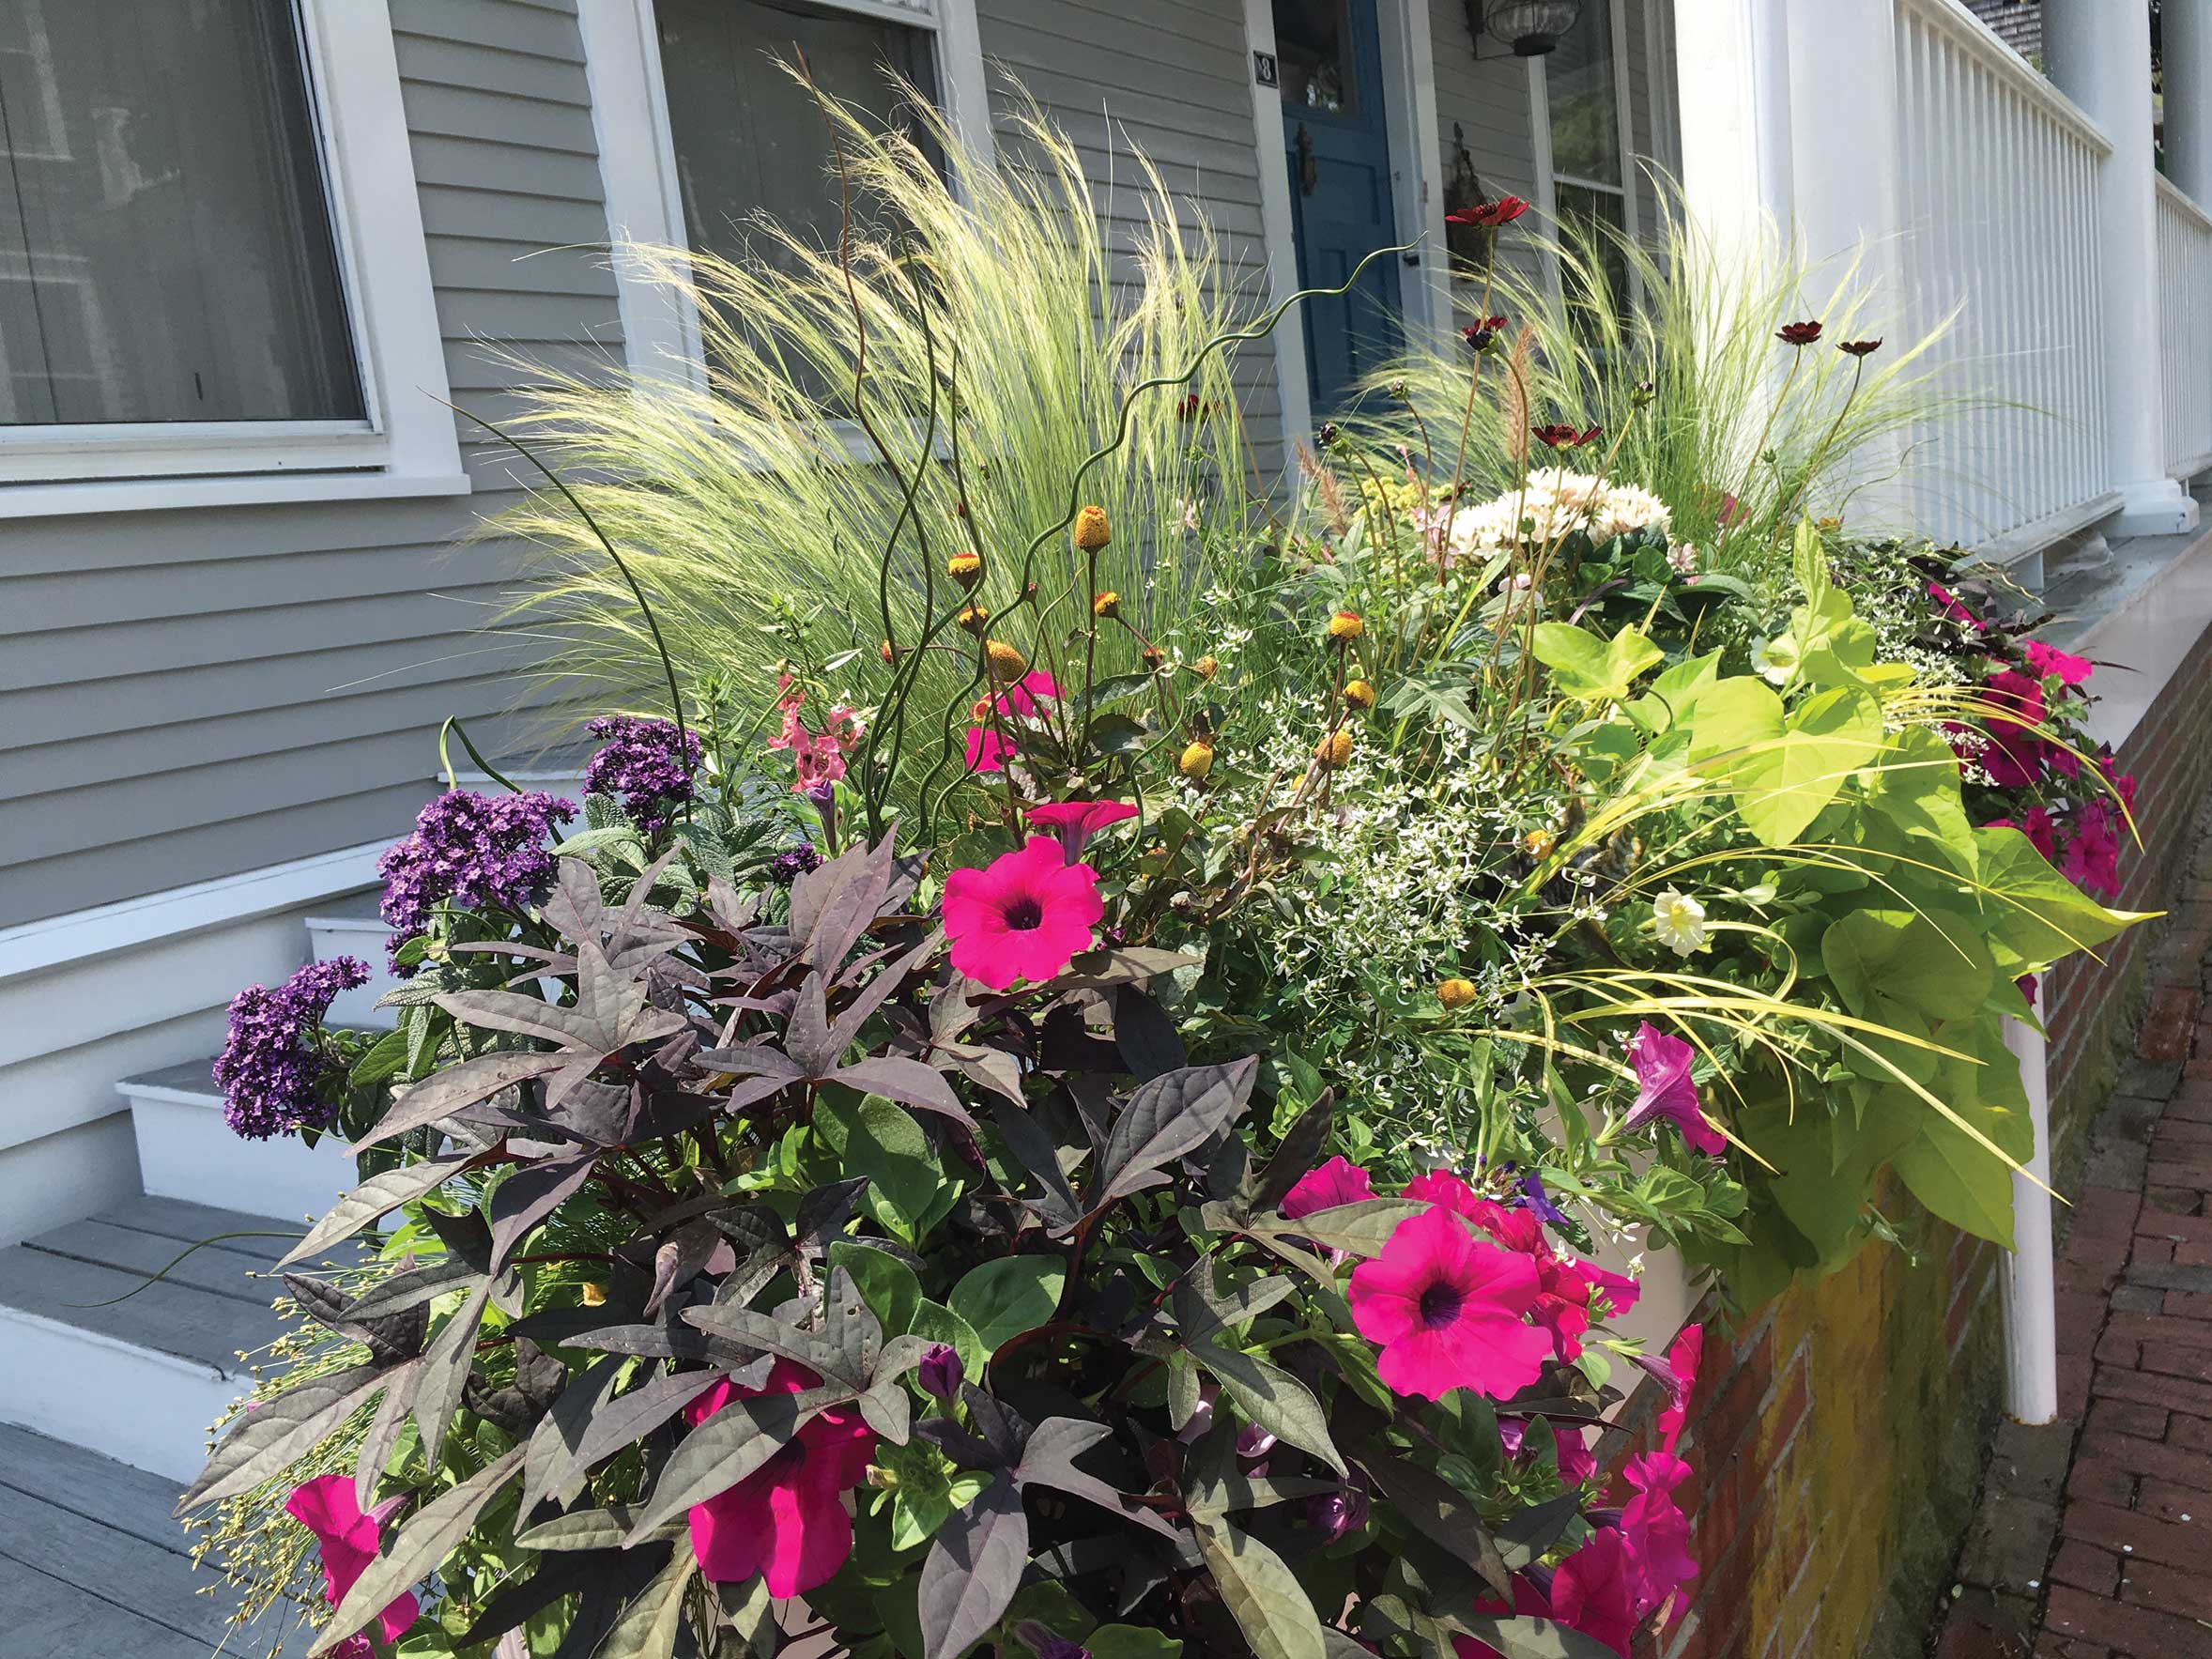
According to Ahern, a window box needs a certain amount of variety in color, height, and texture. “You always want to plant tall, upright annuals in the back and use trailing plants in the front,” she says. Her choices of upright flowers include angelonia, plectranthus, and ornamental grasses, and her favorite trailing flowers, include verbena, dichondra, lantana, and ipomoea.
She also advises using the same amount of foliage and flowering plants, such as ipomoea, succulents, or lysimachia. “Too many flowering plants next to each other can be too much, but by mixing flowering and foliage plants, you can achieve an elegant, structured look,” she says.
3. Lay it out first.
Using measurements from each window box, Ahern works with plastic containers, which allows her to design the boxes back in her greenhouse, and also makes for an easier cleanup at the end of the season. Starting with the middle of the back row, she designs in a peak—with the tallest design in the back, and then working her way out to the edges, she alternates between grasses and foliage plants and flowers. “Personally, I like the boxes to seem like they are overflowing,” she says. “It can also get too busy, so as I’m arranging, I like to step back and make sure it’s right.”
4. Stay on top of maintenance.
If you’re not able to actively maintain your window boxes, stay away from plants that require deadheading, such as petunias and daisies. Also, make sure you’re watering your plants the correct amount—typically twice a week and more during hot stretches. “We maintain our clients’ window boxes by watering and deadheaded each week,” says Ahern. “Without this maintenance it can cause the annuals to stop flowering, and too much water can rot the plants as well.” She also fertilizes every two weeks to keep the plants happy and fed.
Another tip she offers is to drill holes and put a layer of small rocks in the containers for optimal drainage. Also, if a plant has stopped flowering, it could mean that it requires more deadheading, but if its flowering period has ended, don’t be afraid to replace it with another variety.
5. Have fun with it!
“It’s a lot of trial and error, but it’s a lot of fun when you get the hang of it,” says Ahern. “Get started by using flowers that you really love and play around it and see what works. It can be daunting when you go to the nursery but start simple and over time, you’ll get a knack for what works for you.”